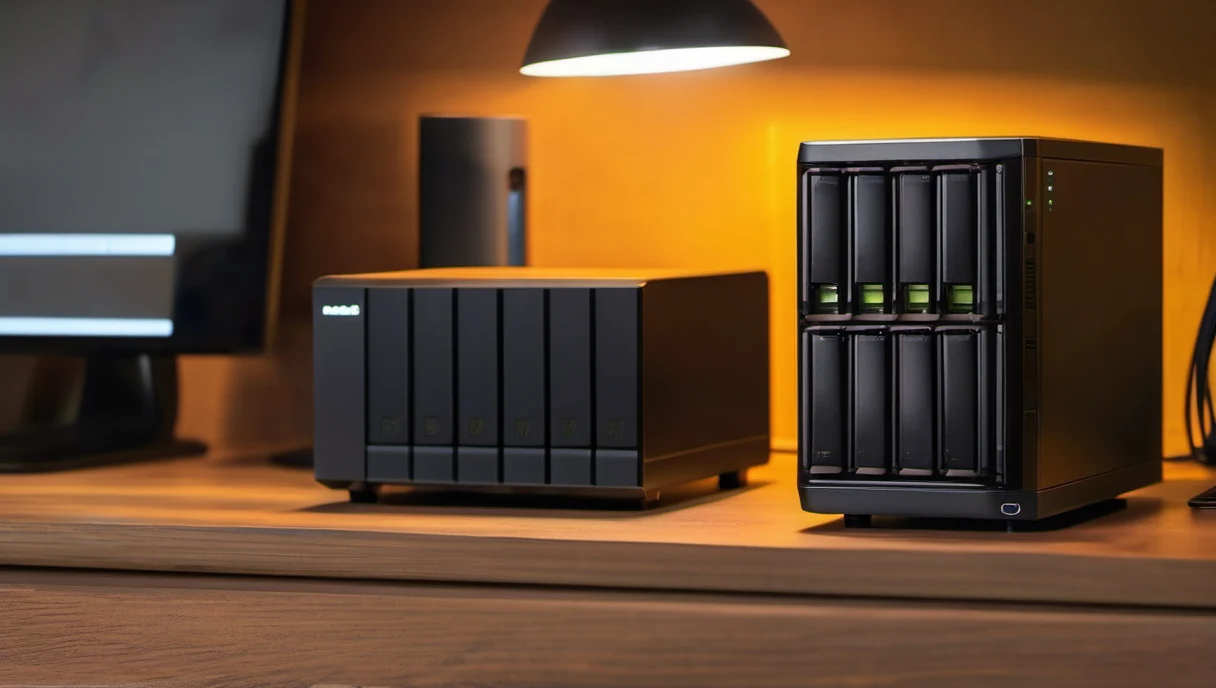
MinIO is an S3-compatible object store you run in a single container: any app that speaks the S3 protocol — backups, media servers, databases, CI pipelines — can store and fetch files from it without changing a line of configuration. It runs in about 200 MB of RAM at idle, and a single-disk setup is enough for personal and small-team use. This guide covers the Docker Compose setup, first bucket, connecting clients, and the settings that matter.
On this page
Why you would want your own S3
Three reasons come up constantly in self-hosted setups:
- Backups need a second location. Restic, Borg, and Duplicacy all write natively to S3. A folder on the same machine is not a backup destination; an S3 bucket is at least a clean abstraction, and you can point it at a second machine later without touching your backup scripts.
- Apps want S3, not folders. Nextcloud, some monitoring stacks, and a long tail of SaaS-style tools take an S3 endpoint, access key and secret key as configuration. MinIO gives them that endpoint on your own hardware.
- Portability. Your data lives in a standard protocol. If you outgrow a single disk, you can move the bucket to a MinIO cluster or even to cloud S3 and most clients keep working.
The honest caveat: single-node MinIO with one volume is not a replicated, self-healing storage system. It is a well-behaved S3 endpoint in front of your disk. Treat it as such: back the volume up like any other data directory.
Prerequisites
- Docker + Compose plugin
- A free TCP port (this guide uses
9000for the API and9001for the web console) - A folder for the data — put it on your largest disk; MinIO writes everything to it
Step 1: The compose file
mkdir -p ~/stacks/minio && cd ~/stacks/minioCreate docker-compose.yml:
services:
  minio:
    image: minio/minio:latest
    container_name: minio
    command: server /data --console-address ":9001"
    environment:
      MINIO_ROOT_USER: chikewa
      MINIO_ROOT_PASSWORD: CHANGE-ME-16-CHARS
    ports:
      - "9000:9000"
      - "9001:9001"
    volumes:
      - ./data:/data
    restart: unless-stopped
Three notes on that file:
command: server /data— the data directory is a single path. MinIO supports multiple drives per node (pass several paths, space-separated) for larger single-node deployments.MINIO_ROOT_USER/MINIO_ROOT_PASSWORD— the root credentials. The password must be at least 8 characters; use a long random one. You can create additional users later with their own keys (see Step 4), which is the right way to hand out access to apps.--console-address ":9001"— the web UI. If you would rather not expose the console at all, remove port 9001 fromportsand usemc(the CLI) instead.
Step 2: Start it and open the console
docker compose up -d
docker compose logs -f minio
Wait for the log line API: http://192.168.x.x:9000, then open http://YOUR_SERVER_IP:9001 and log in with the root credentials. The console shows buckets, usage, and a simple file browser — enough for day-to-day checking.
Step 3: Create a bucket
In the console, click Add Bucket, pick a name (lowercase, no spaces, e.g. backups), and leave the defaults. That is it — no ACL gymnastics needed for a private bucket. MinIO buckets are private by default; access is controlled by credentials, not by open listing.
Step 4: Create a dedicated user for apps
Do not hand the root keys to your backup job. In the console go to Access Keys → Add User (or use mc), create a user, then create an access key for it. Attach a policy that limits it to the bucket it needs:
{
  "Version": "2012-10-17",
  "Statement": [
    {
      "Effect": "Allow",
      "Action": ["s3:GetObject", "s3:PutObject", "s3:ListBucket", "s3:DeleteObject"],
      "Resource": [
        "arn:aws:s3:::backups",
        "arn:aws:s3:::backups/*"
      ]
    }
  ]
}
Save that as a custom policy and attach it to the user. Now every app on your network uses its own key, and you can revoke one without touching the others.
Step 5: Connect a client
Any S3 client works. Three examples you will actually use:
mc (MinIO CLI) — the official client, one command to configure:
mc alias set myminio http://YOUR_SERVER_IP:9000 ACCESS_KEY SECRET_KEY
mc mb myminio/backups
mc cp big-file.iso myminio/backups/
restic — backup to your own S3:
restic init --repository s3:http://YOUR_SERVER_IP:9000/backups \
  --s3-provider minio --s3-access-key ACCESS_KEY --s3-secret-key SECRET_KEY \
  --s3-region us-east-1 --s3-no-verify-ssl
restic -r s3:http://YOUR_SERVER_IP:9000/backups backup /home
The us-east-1 region value is a dummy: MinIO accepts any region string, and --s3-no-verify-ssl is only needed while you are on plain HTTP inside your LAN. Once you put TLS in front (see below), drop that flag.
aws CLI — if an app or script demands it:
aws --endpoint-url http://YOUR_SERVER_IP:9000 s3 ls
aws --endpoint-url http://YOUR_SERVER_IP:9000 s3 cp report.pdf s3://backups/
Step 6: TLS and external access
MinIO ships with a self-signed certificate automatically; clients can use HTTPS against it with no-verify, which is fine for testing but not for anything you leave on. The two clean paths, in order of preference:
- Cloudflare Tunnel or Tailscale Funnel in front of MinIO — no open ports, TLS handled for you. We cover Cloudflare Tunnel in the Security & Networking series.
- Reverse proxy (Caddy / Nginx Proxy Manager) with a real certificate — the same foundation you would use for any other exposed service.
Do not forward port 9000 directly on your router. An S3 endpoint with a weak key is exactly the thing credential-stuffing bots look for.
Resource usage (measured)
From a single-disk, single-bucket setup on a Pi 5-class machine:
| State | RAM |
|---|---|
| Idle | ~180–220 MiB |
| Steady single-stream copy (1 GbE) | ~250 MiB, disk-bound at ~100 MB/s |
Throughput is your disk, not MinIO. A SATA SSD will saturate a gigabit line easily; a mechanical disk will not. If you need more, the single-node multi-drive setup (multiple paths in command) stripes across them.
Updating
docker compose pull && docker compose up -dMinIO stores its metadata inside the data volume; there is no separate database to migrate. Your buckets and objects are untouched by updates.
FAQ
Can I run MinIO on a Raspberry Pi?
Yes, with the usual caveat that a Pi’s storage is the bottleneck. It is a perfectly good S3 endpoint for backups, metadata-heavy workloads, and small files. For large video libraries, put the data on a NAS-class machine and let the Pi run the apps that consume it.
What happens to my data if the container breaks?
Everything is plain files under ./data. You can copy that folder to another machine, point a fresh MinIO at it, and serve the same objects. That is the real safety property of single-node MinIO: the data is not locked in a proprietary format.
Do I need versioning?
Turn it on (console → bucket → versioning) if the bucket holds anything you do not want an accidental delete to destroy — backup repositories, irreplaceable originals. It costs you storage equal to whatever you overwrite.
How is this different from Samba or a plain folder?
A folder gives you a filesystem; S3 gives you an API. Anything that needs to store objects programmatically — backup software, web apps, pipelines — speaks S3, not CIFS. MinIO is the cheapest way to get that API on hardware you own.
Where does this fit?
MinIO is the storage layer for the rest of the stack: Miniflux keeps its database tiny, Jellyfin keeps its media in a folder, and MinIO is where the copies that survive a disk failure live. See the starter guide for the full picture.
What’s next?
The natural next steps from this guide: